Code
import 'package:flutter/cupertino.dart';
import 'package:flutter/material.dart';
void main() {
runApp(const MyApp());
}
class MyApp extends StatelessWidget {
const MyApp({super.key});
@override
Widget build(BuildContext context) {
return MaterialApp(
debugShowCheckedModeBanner: false,
title: 'E-Commerce App',
theme: ThemeData(primarySwatch: Colors.blue,),
home: const Home(),
);
}
}
class Home extends StatelessWidget{
const Home({super.key});
@override
Widget build(BuildContext context) {
return Scaffold(
backgroundColor: Colors.black.withOpacity(0.5),
///////////////////////AppBar ////////////////////////////////
appBar: AppBar(
backgroundColor: Colors.deepOrange,
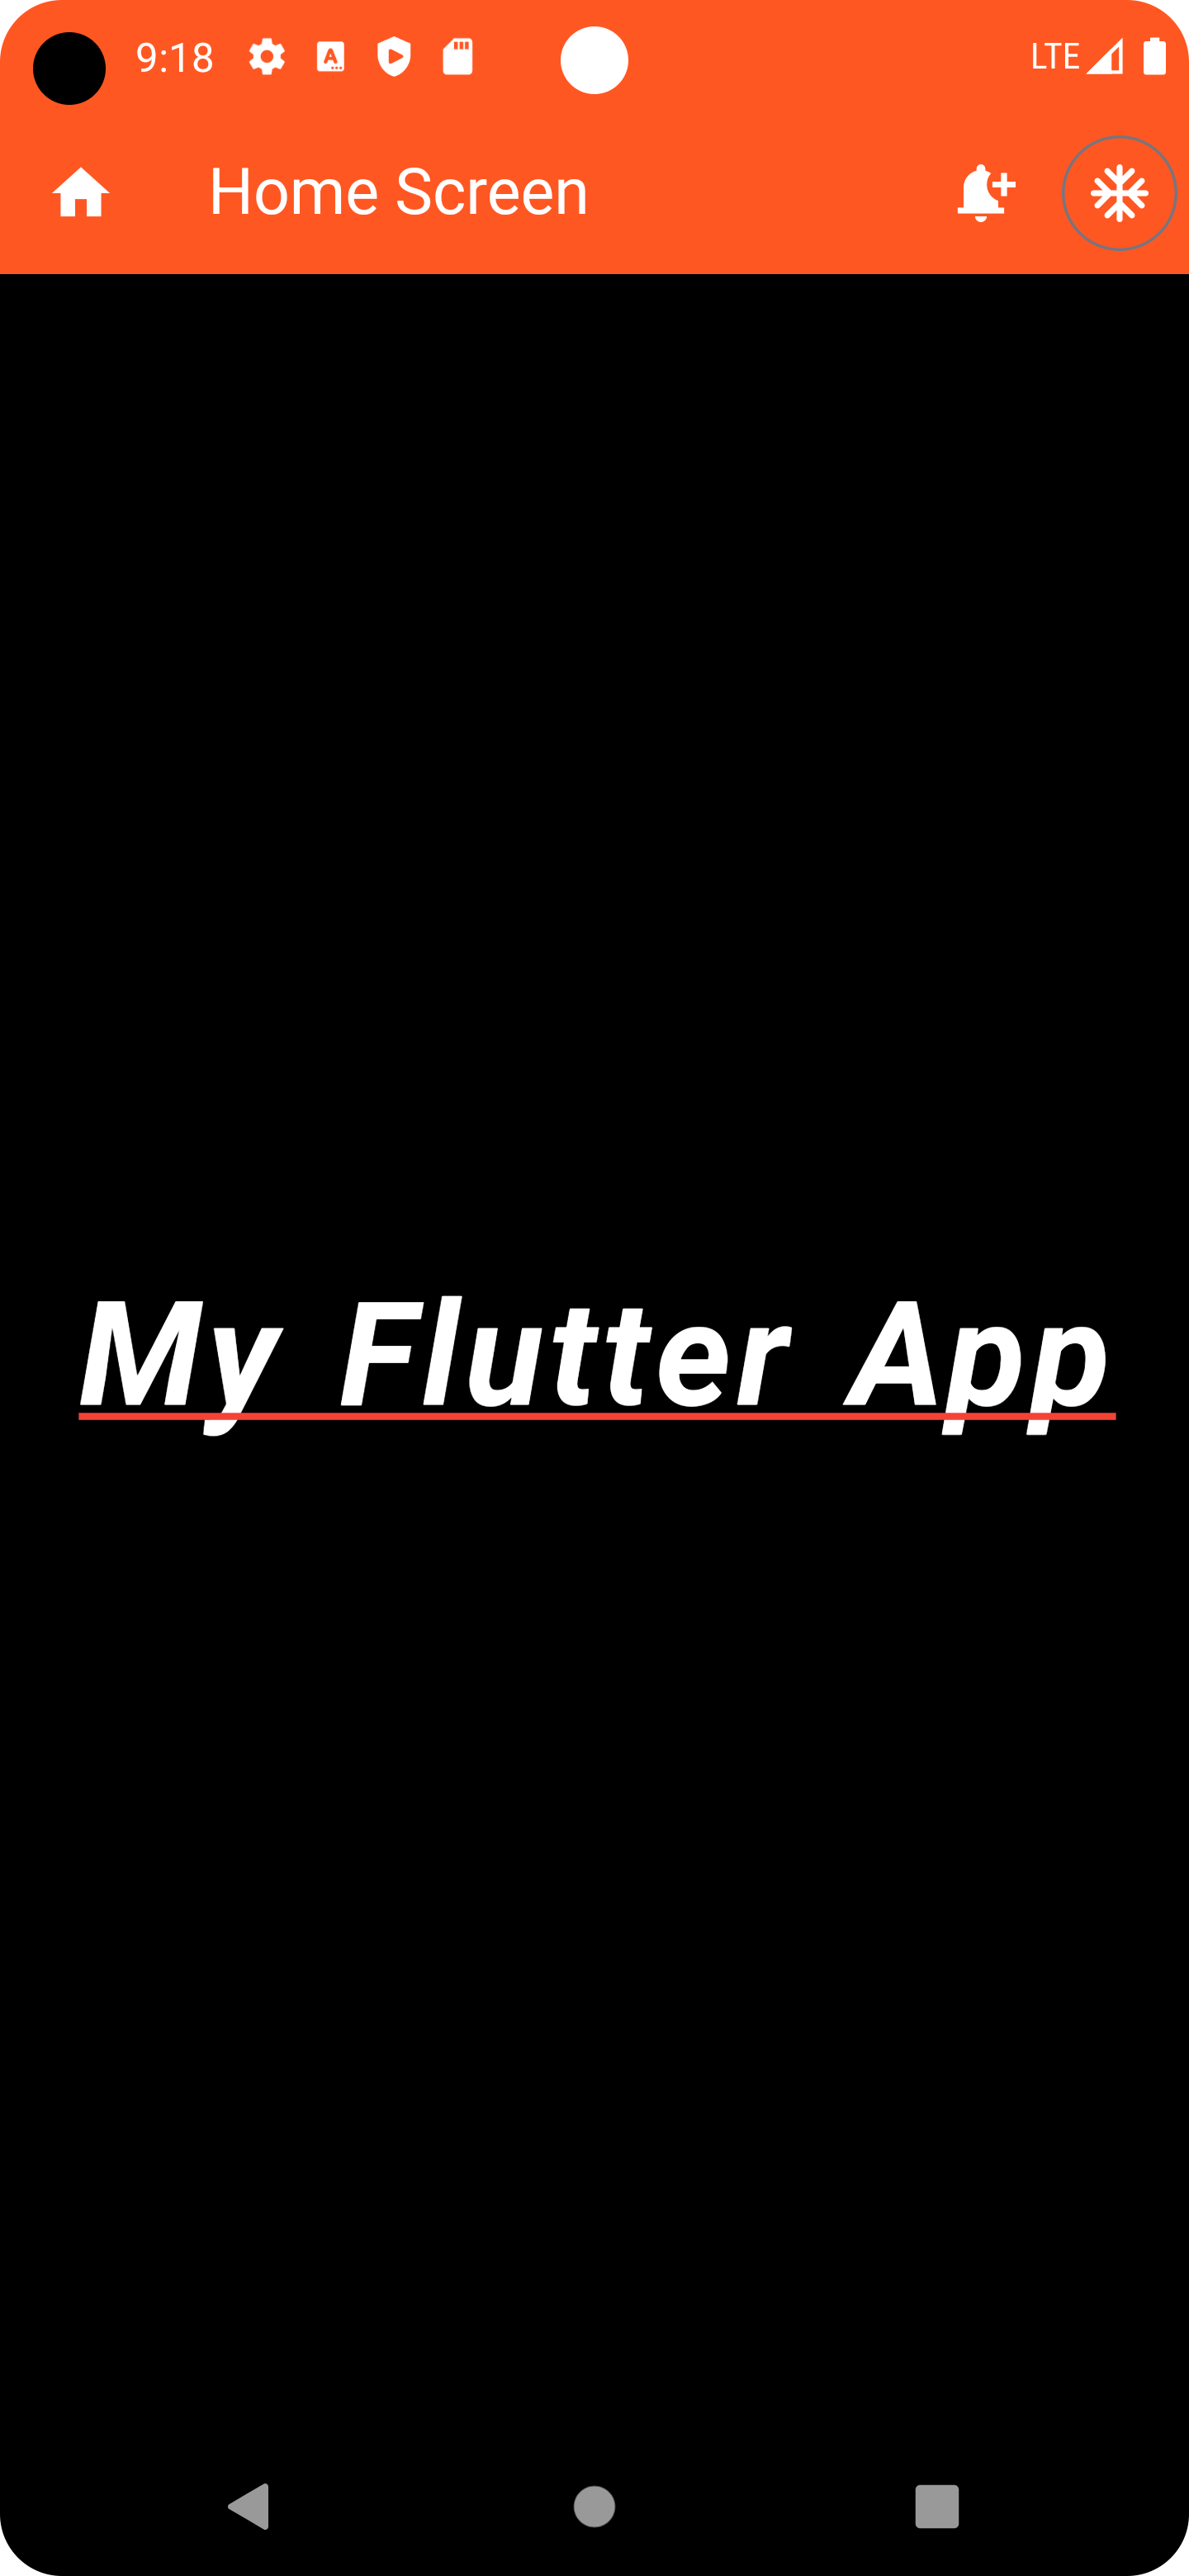
title: const Text('Home Screen', style: TextStyle(color: Colors.white),),
leading: const Icon(Icons.home, color: Colors.white,),
actions: [
IconButton(onPressed: () {
ScaffoldMessenger.of(context).showSnackBar(
const SnackBar(
backgroundColor: Colors.deepOrange,
duration: Duration(milliseconds: 500),
content: Text('Al Saad Bi Honey'),
),
);
}, icon: const Icon(Icons.notification_add, color: Colors.white,)
),
IconButton.outlined(onPressed: (){
showDialog(context: context, builder: (context){
return const AlertDialog(
title: Text('Honey'),
content: Text('Al Saad Bin Rahaman'),
);
});
}, icon: const Icon(Icons.ac_unit_rounded, color: Colors.white,)),
],
),
///////////////////////End AppBar ////////////////////////////////
body: const Center(
///////////////////////Text ////////////////////////////////
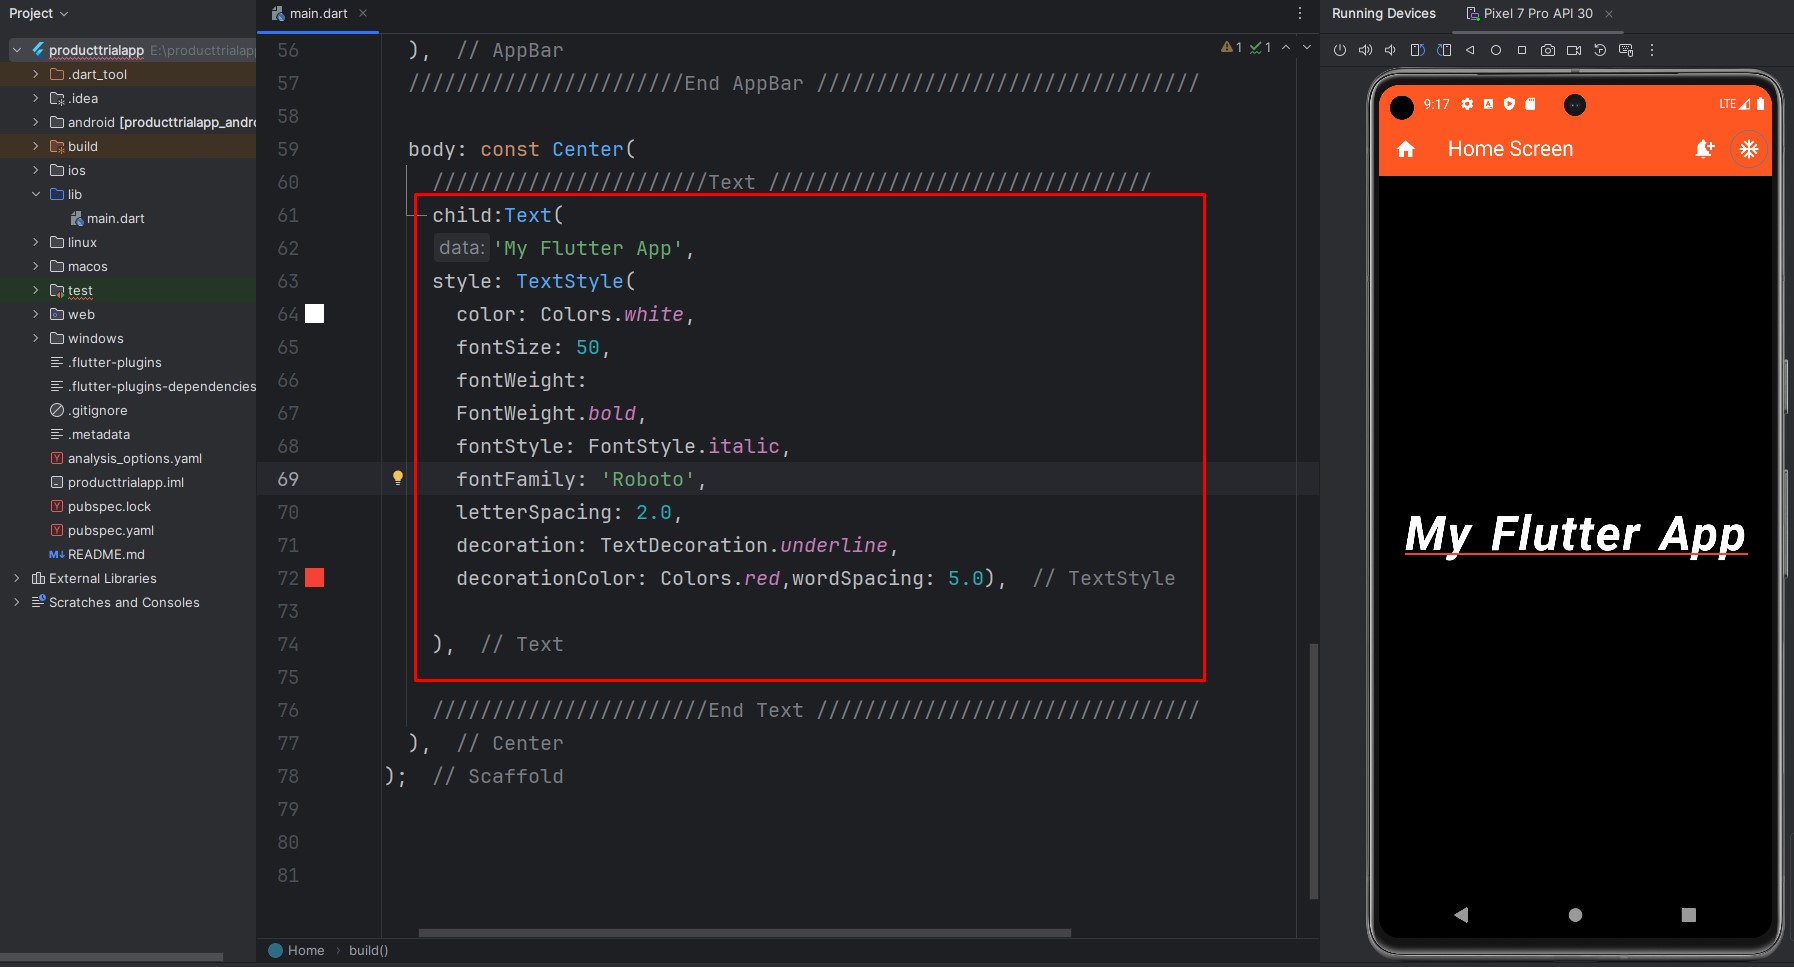
child:Text(
'My Flutter App',
style: TextStyle(
color: Colors.white,
fontSize: 50,
fontWeight:
FontWeight.bold,
fontStyle: FontStyle.italic,
fontFamily: 'Roboto',
letterSpacing: 2.0,
decoration: TextDecoration.underline,
decorationColor: Colors.red,wordSpacing: 5.0),
),
///////////////////////End Text ////////////////////////////////
),
);
}
}
To use custom fonts, you'll need to:
- Add your font files (usually
.ttfor.otffiles) to your Flutter project. - Update your
pubspec.yamlfile to include the font files and specify the font family name. - Use the specified font family name in the
fontFamilyproperty of theTextStyleclass.
Here’s an example pubspec.yaml configuration for adding a custom font:
flutter:
  fonts:
    - family: MyCustomFont
      fonts:
        - asset: fonts/my_custom_font_regular.ttf
        - asset: fonts/my_custom_font_bold.ttf
          weight: 700
After registering the custom font, you can use it in your code like this:
///////////////////////Text ////////////////////////////////
        child:Text(
        'My Flutter App',
          style: TextStyle(
          color: Colors.white,
          fontSize: 50,
          fontWeight:
          FontWeight.bold,
          fontStyle: FontStyle.italic,
          fontFamily: 'MyCustomFont',
          letterSpacing: 2.0,
          decoration: TextDecoration.underline,
          decorationColor: Colors.red,wordSpacing: 5.0),

        ),

///////////////////////End Text ////////////////////////////////
Make sure to replace
'MyCustomFont' with the name you specified in your pubspec.yaml file. Output